Safety Notice: Information provided is for educational purposes. Screen damage requires professional assessment. Do not attempt unauthorized repairs that may void warranties.
Screen protector installation
Quick Fix

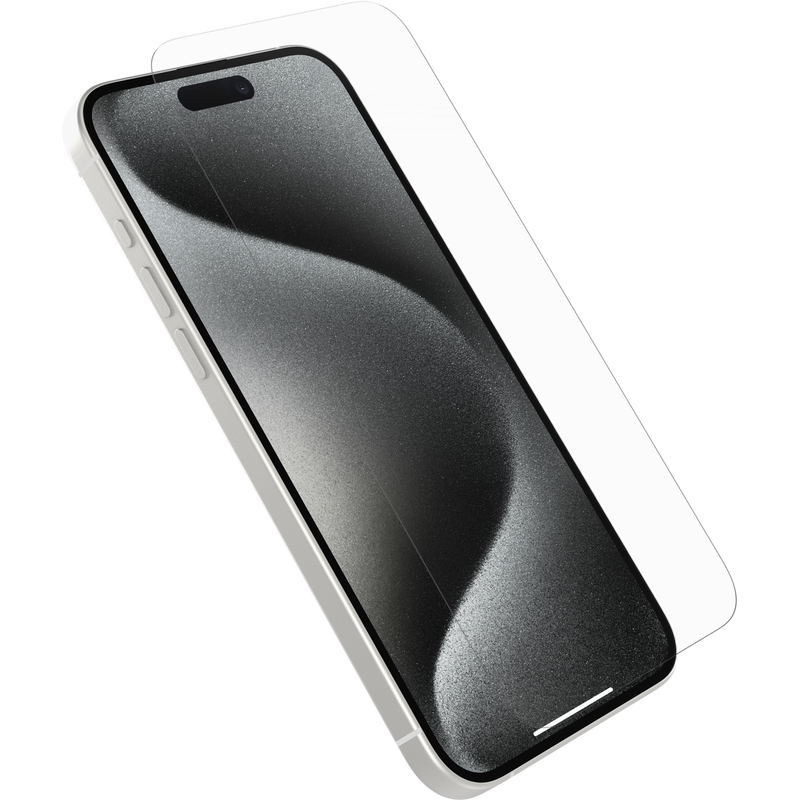
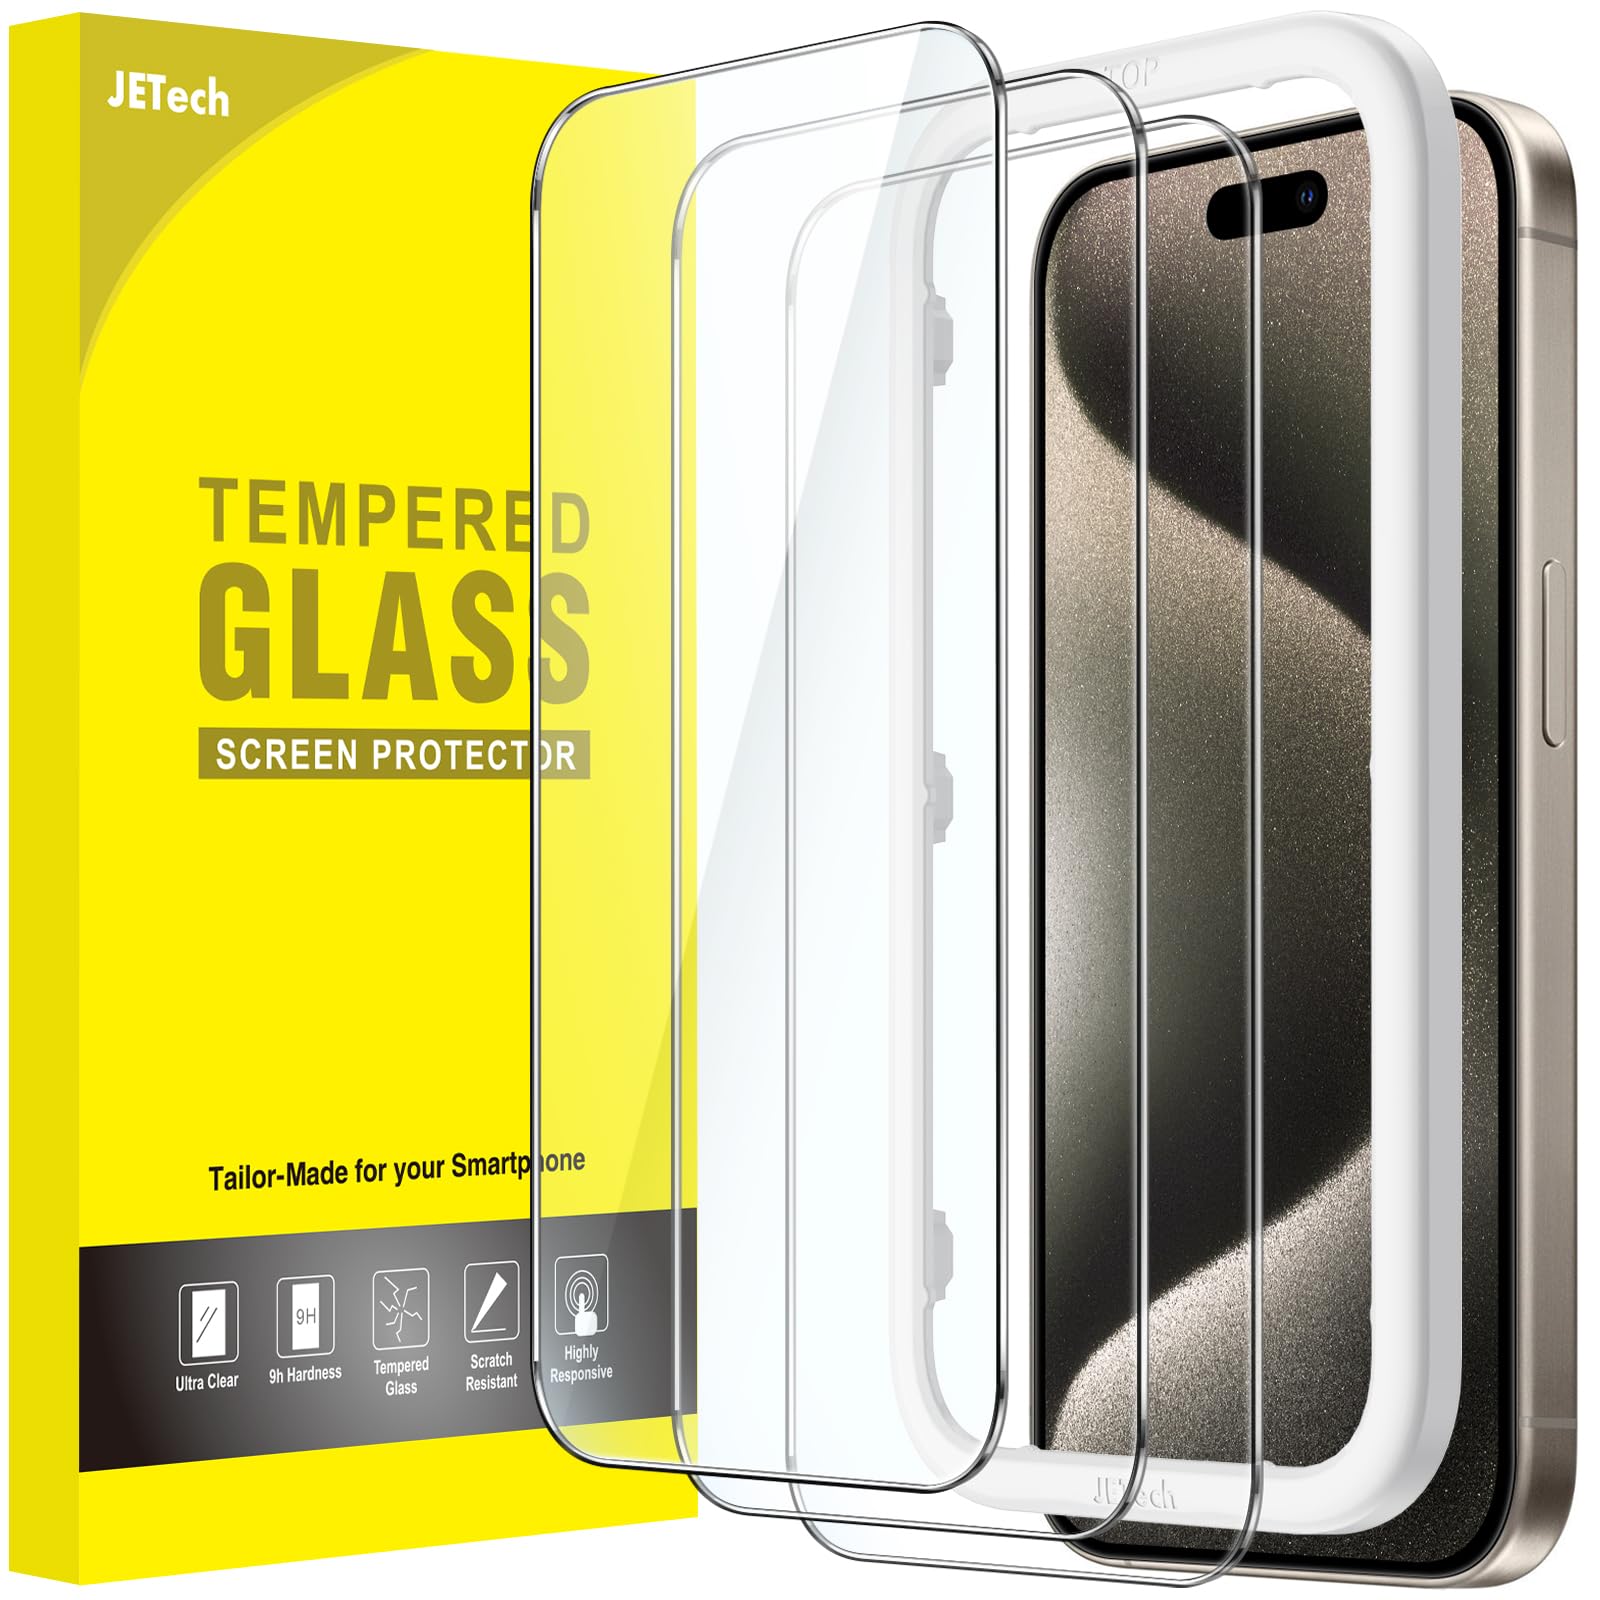
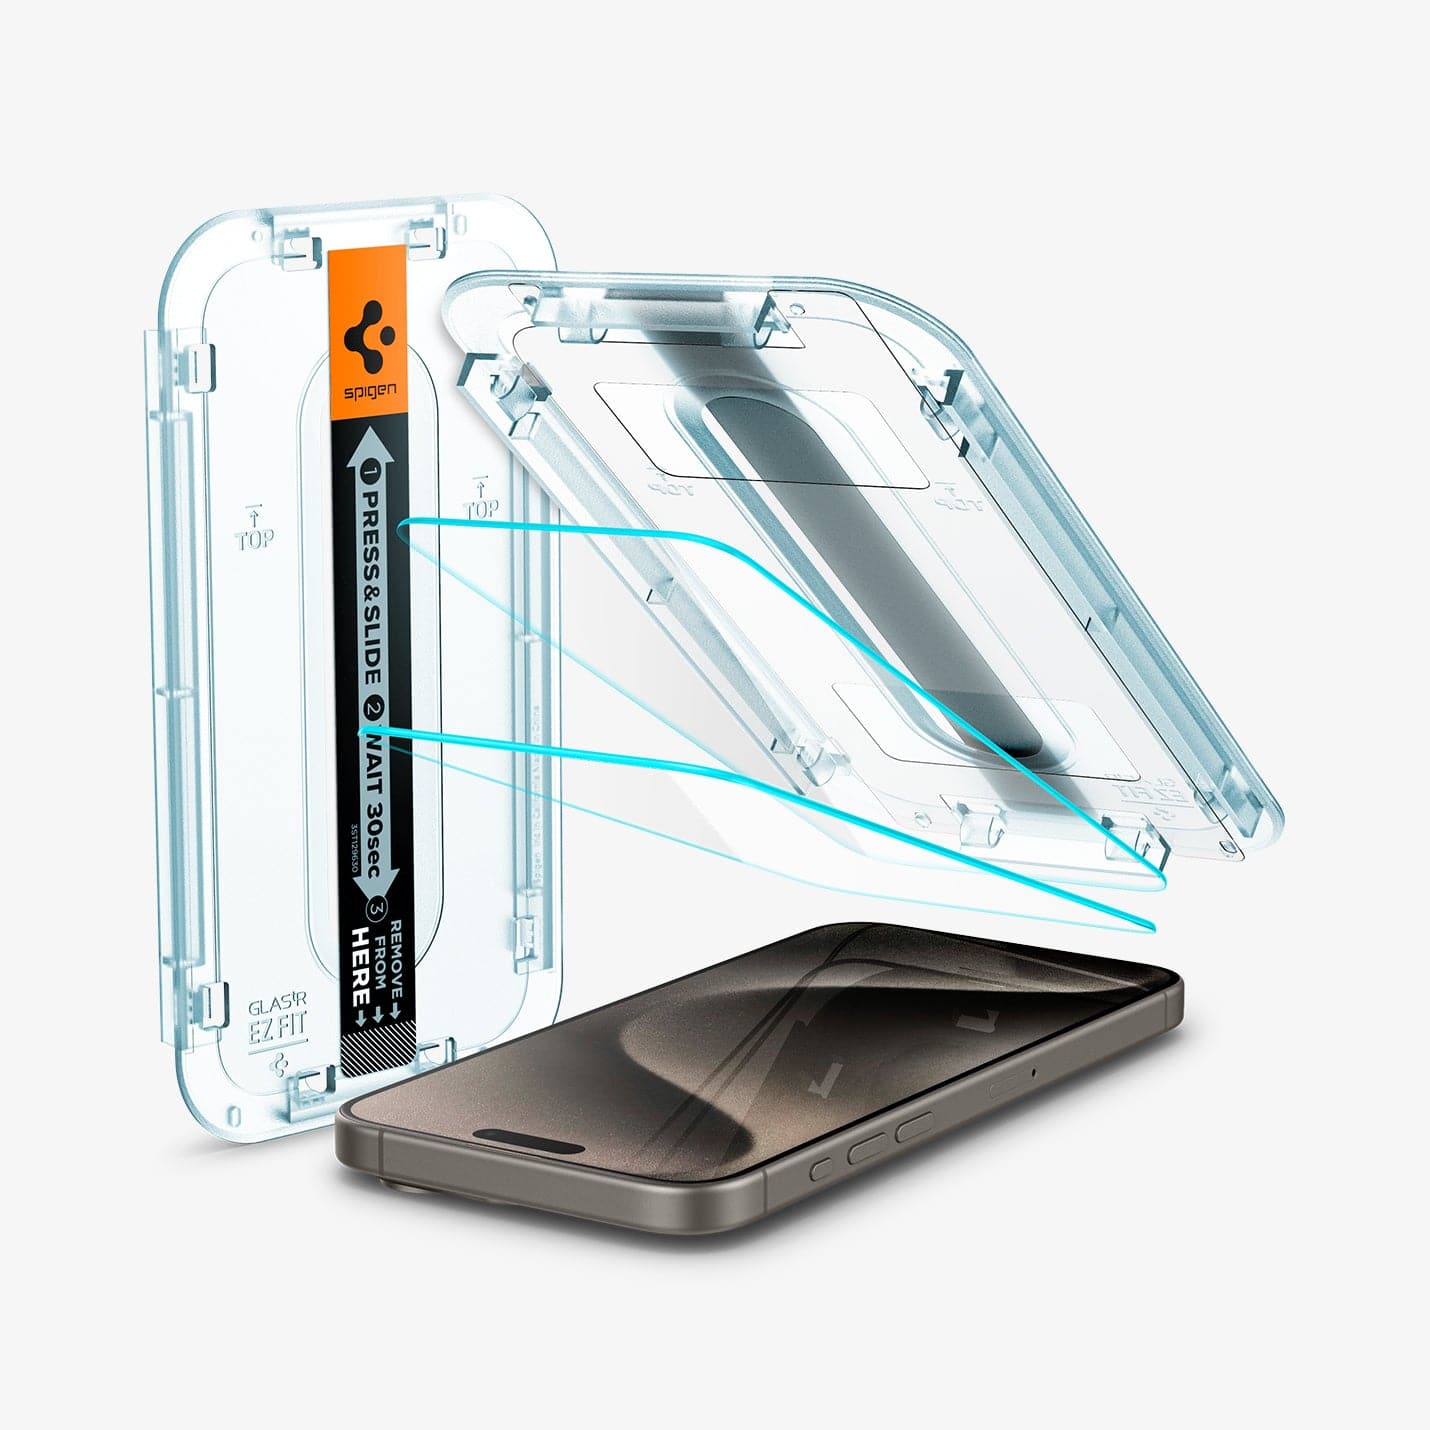
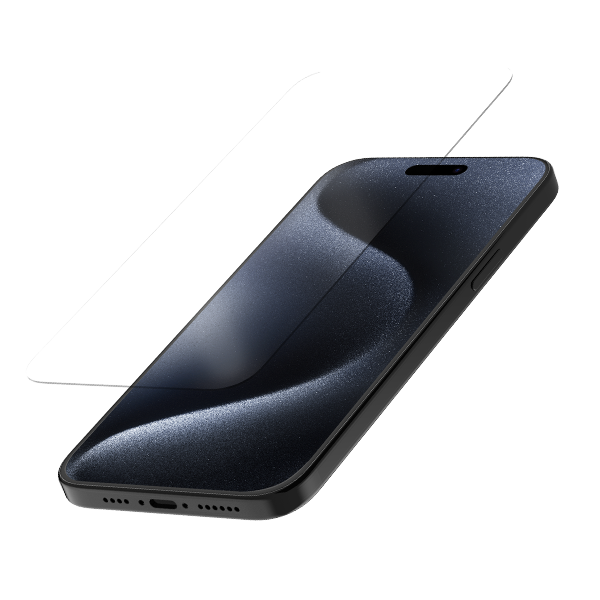
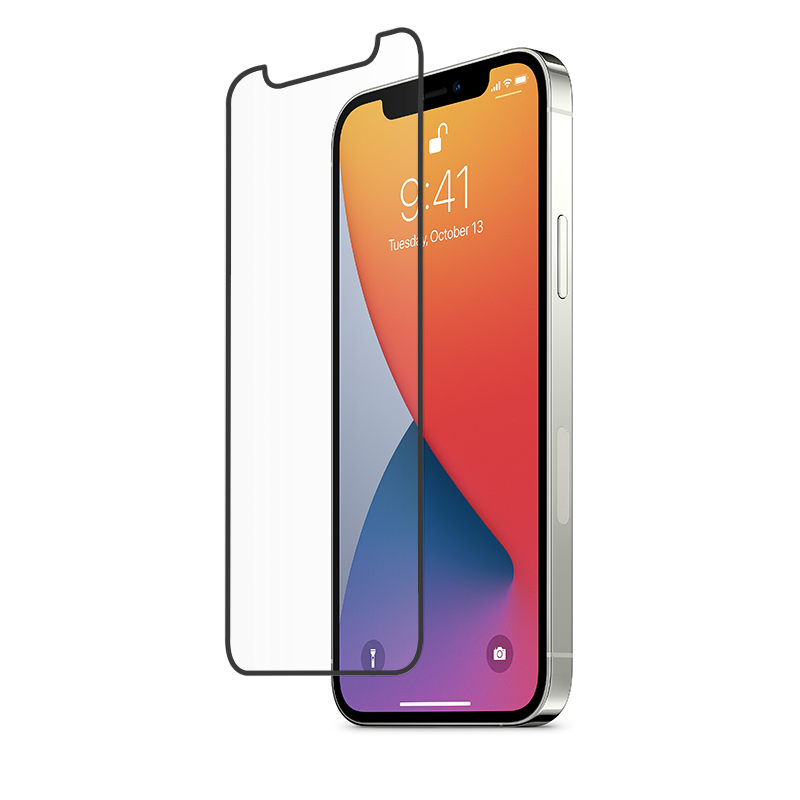
Perfect Screen Protector Installation

Master the art of bubble-free screen protector application. Clean your screen thoroughly with included alcohol wipes, align carefully using guide stickers, and apply with even pressure from center outward. Proper installation prevents dust particles and ensures maximum protection for your device display.

Screen protector types
Guide

Tempered Glass vs Film Protectors

Understand the differences between protection types. Tempered glass offers superior impact resistance and feels like your original screen, while film protectors are thinner and more flexible. Glass protectors sacrifice themselves during drops, absorbing impact energy that would otherwise crack your screen.

Screen cleaning
Quick Fix

Safe Screen Cleaning Methods

Keep your display pristine without damage. Use only microfiber cloths designed for electronics, never paper towels or household cleaners. For stubborn smudges, slightly dampen the cloth with distilled water or screen-safe cleaning solution. Avoid excessive pressure that could damage the display beneath.

Privacy screen protector
Guide

Privacy Screen Protector Benefits

Protect your sensitive information from prying eyes. Privacy screen protectors use micro-louver technology to narrow the viewing angle, making your screen content invisible from sides. Ideal for use in public spaces, offices, or public transit where visual privacy matters. They maintain screen clarity for the primary user while preventing shoulder surfing.

Cracked protector replacement
Quick Fix

When to Replace Screen Protectors

Recognize the signs that indicate replacement time. Visible cracks, chips at edges, loss of oleophobic coating causing increased fingerprints, or lifting corners all compromise protection. A cracked protector has already done its job by absorbing impact. Replace immediately to maintain full screen protection for your valuable device.

Screen protector application tools
Guide

Essential Installation Tools

Quality application tools ensure perfect results. Use the included alignment frame for precise positioning, dust removal stickers for cleaning, and squeegee card for bubble removal. Working in a steam-filled bathroom reduces airborne dust particles. Take your time with each step for professional-quality installation that provides maximum protection.

Anti-glare protector
Guide

Anti-Glare Screen Solutions

Reduce eye strain and improve outdoor visibility. Matte finish screen protectors scatter reflected light, reducing glare in bright conditions. They provide a paper-like texture that some users prefer for reading and drawing. While they slightly reduce screen sharpness compared to glossy protectors, the comfort benefits often outweigh this trade-off.

Screen brightness settings
Quick Fix

Optimize Display Brightness

Balance visibility and battery life with proper brightness settings. Enable auto-brightness for adaptive adjustment based on ambient light. Lower brightness in dark environments to reduce eye strain and conserve battery. Many devices offer night mode or blue light filters for evening use, protecting both your eyes and sleep quality.

Screen burn-in prevention
Guide

OLED Screen Burn-In Prevention

Protect OLED displays from permanent image retention. Avoid displaying static images at high brightness for extended periods. Use dark themes when possible, enable screen timeout, and vary displayed content. Modern OLED screens have built-in protection, but good habits extend display lifespan significantly. Pixel shifting features help prevent uneven wear.

Screen protector maintenance
Quick Fix

Protector Edge Maintenance

Prevent edge lifting and maintain adhesion. Keep screen protector edges clean by gently wiping daily. Avoid applying excessive pressure near edges that can cause lifting. If corners begin lifting, carefully press them back or apply a tiny amount of clear nail polish along the edge as temporary adhesive until replacement.